





What Your Designer Won’t Tell You—But Your Contractor Will
“Is marmeren platen the best choice for my kitchen or bathroom?”
A homeowner asked this question during a consultation with her contractor.
“It can be,” the contractor replied, “but only if installed correctly. Marmeren platen are stunning, but without proper installation, they can quickly lose their charm.”
This is the core challenge: marmeren platen are a beautiful but delicate material. While they offer an elegant, timeless look, improper installation can lead to cracks, stains, and frustration. In this article, we will guide you through the process of properly installing marmeren platen in your kitchen or bathroom, from the planning phase to the final touches. By following these steps, you’ll ensure that your marble surfaces not only look amazing but also last for years.
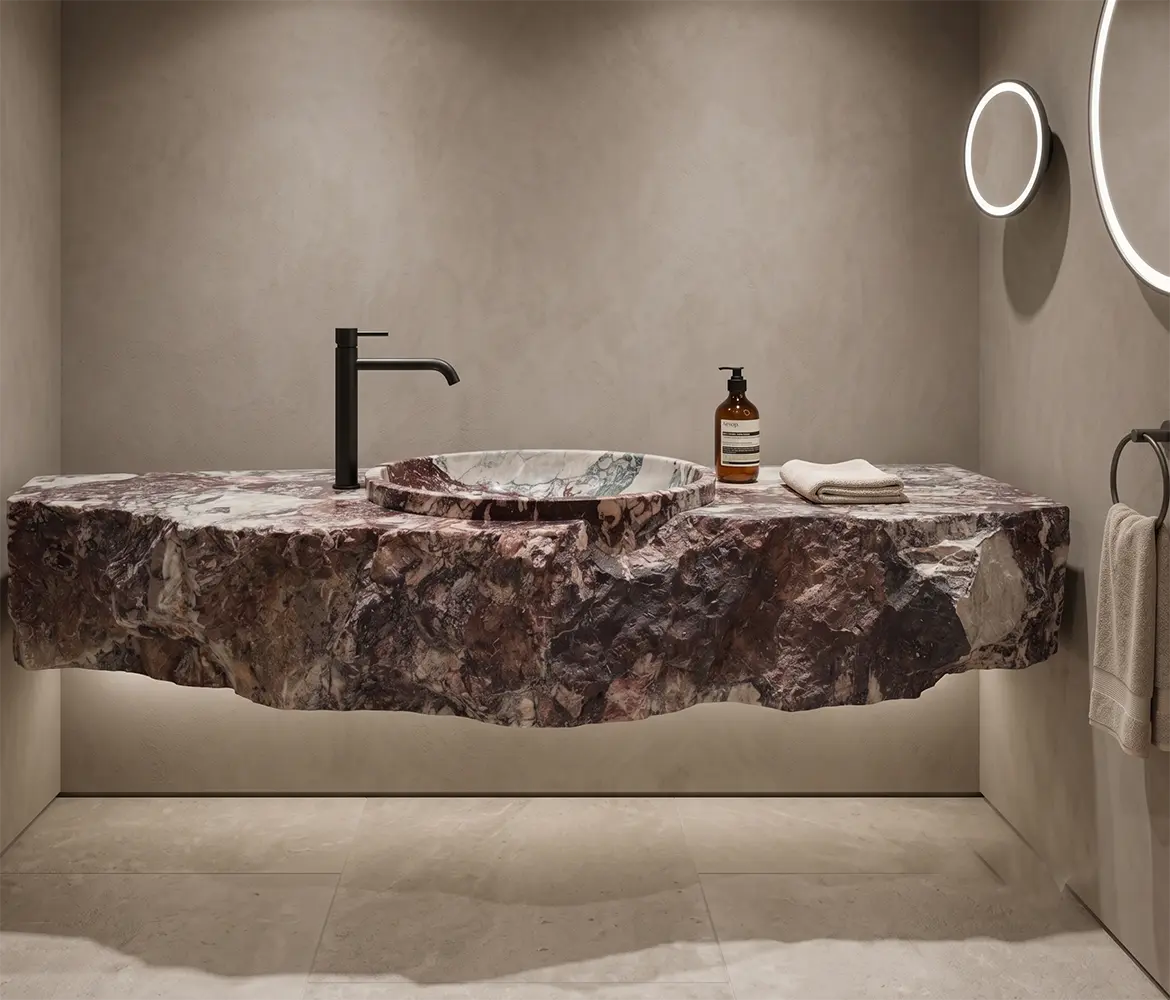
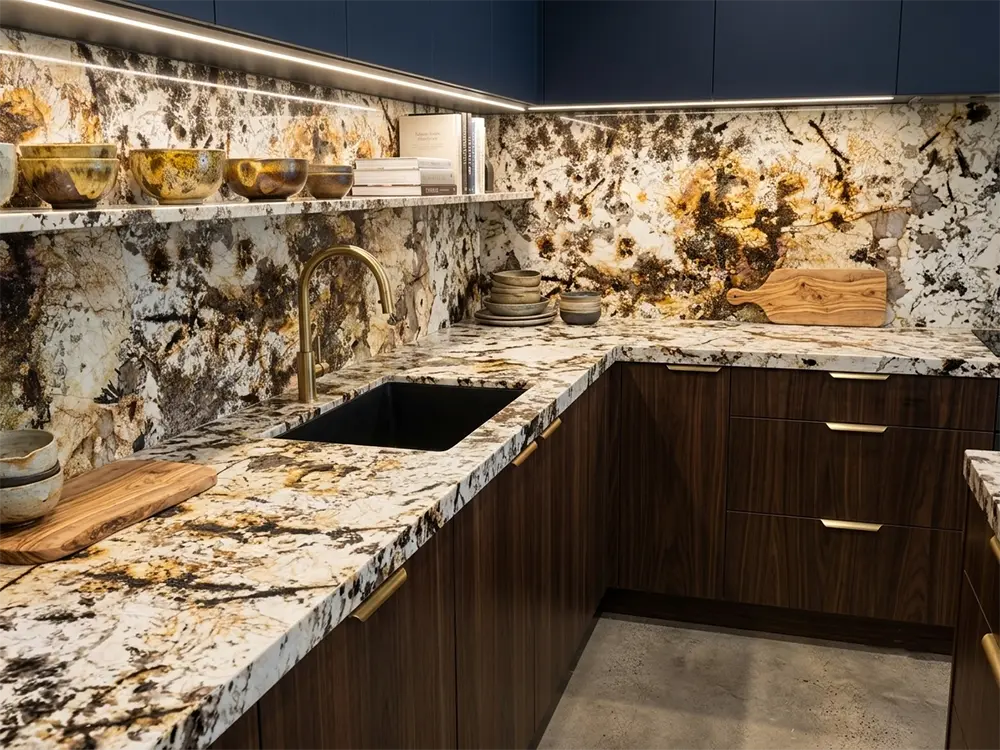
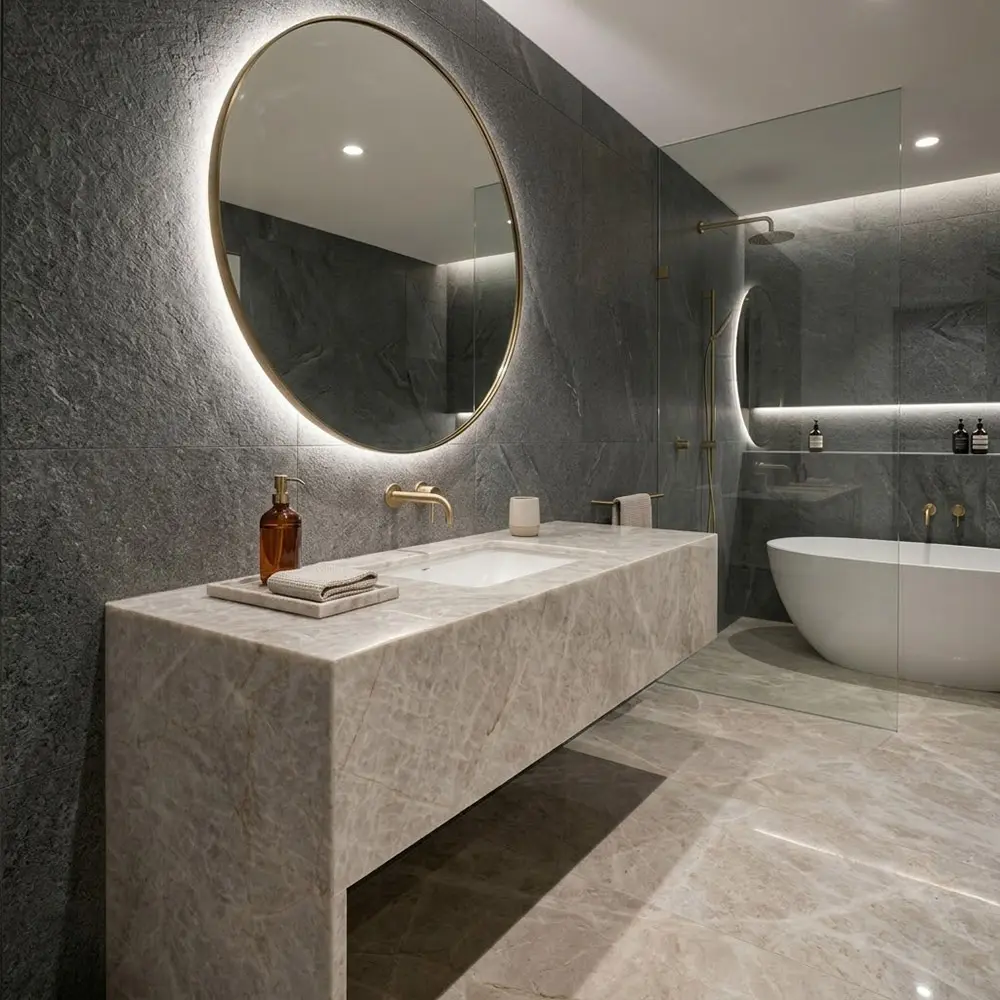
 Luxe keuken marmeren werkbladen |  Marmer voor een minimalistische badkamer |
Step 1: Preparation and Planning
The first step to a successful installation is thorough preparation. Take time to plan and understand the specific needs of your space. Whether you’re adding marmeren platen to your kitchen countertop, bathroom walls, or a shower area, each space has unique demands.
-
Measure and Assess: Accurately measure the area where you plan to install the slabs. Ensure the foundation is clean, dry, and level. Uneven surfaces can lead to improper installation and future issues with your marmeren platen.
-
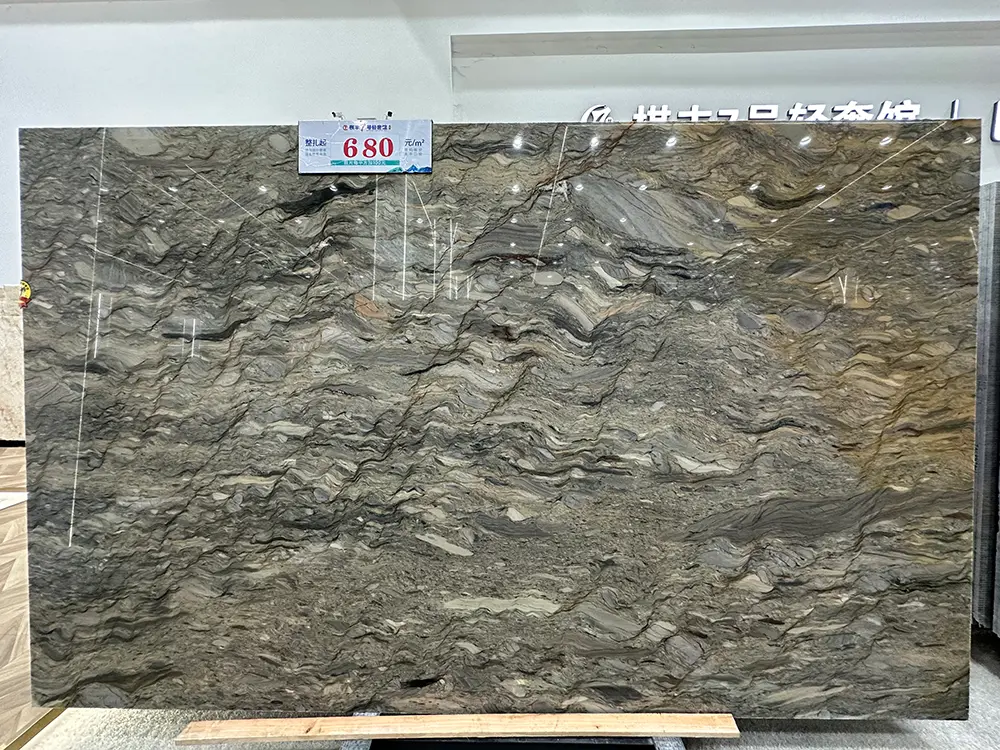
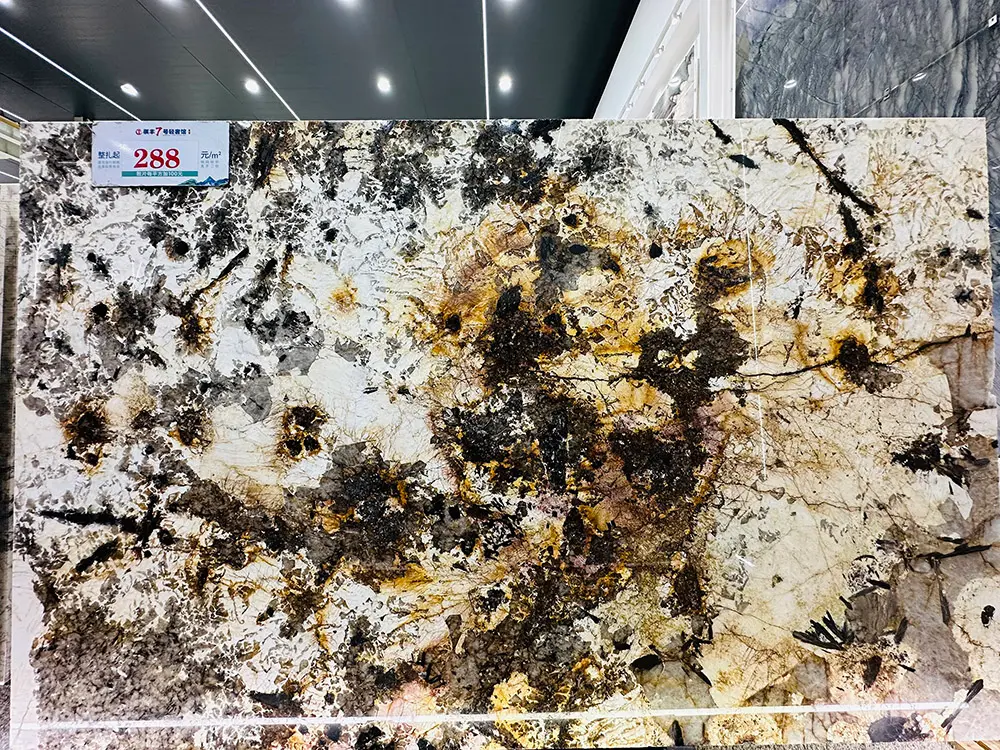
Consider the Design: Choose your marmeren platen based on both aesthetic and functional needs. Caronstone offers a wide variety of stones, from the classic elegance of Caribbean Green Marble Slabs to the luxurious appeal of Four Season Marble. Each type has its own unique characteristics that affect installation.
Take a closer look at Marmeren plaat Caribisch groen voor aanrechtblad en tafel, which highlights how its stunning colors and patterns can create a modern, elegant feel for kitchen or bathroom surfaces.
Step 2: Preparing the Surface
Once you’ve planned your layout and selected your slabs, it’s time to prepare the surface for installation. For marmeren platen, the foundation is everything. Here’s how to get it ready:
-
Clean the Surface: Ensure that the substrate (e.g., concrete or plywood) is free from debris, dust, and moisture. A clean surface allows for better adhesion.
-
Check for Level: Use a level to make sure the surface is flat. If the surface is uneven, it will affect the installation and may cause the slabs to shift or crack over time.
-
Apply Adhesive: Use a high-quality adhesive specifically designed for marmeren platen. A strong adhesive will ensure that the slabs stay securely in place. Apply the adhesive using a notched trowel to ensure an even spread.
To learn more about the importance of preparation, read about Why Does Natural Marble Come in So Many Colors? and understand how variations in color and texture require different approaches to preparation and installation.
Step 3: Cutting and Fitting the Slabs
Cutting and fitting marmeren platen can be tricky, especially if you need to adjust the slabs to fit a specific space.
-
Use a Wet Saw: Marble requires a wet saw equipped with a diamond blade to ensure clean cuts. Always wear safety gear, including goggles and gloves, to protect yourself from dust and debris.
-
Dry Fit the Slabs: Before applying adhesive, dry fit the slabs in place to ensure they align perfectly. This is particularly important when dealing with large slabs, as adjustments may be necessary.
For guidance on cutting and handling marble slabs, Caronstone’s cutting secrets for marble mosaic tiles can offer you valuable tips on how to handle these delicate materials efficiently and safely.
Step 4: Installing the Slabs
Once everything is measured and cut correctly, it’s time to install the marmeren platen.
-
Apply Adhesive: Spread the adhesive evenly on the surface using a notched trowel. Avoid applying too much adhesive at once, as it can cause excess mess.
-
Position the Slabs: Carefully place each marmeren plaat onto the prepared surface, starting from one edge and working towards the opposite side. Press down gently to ensure a secure bond.
-
Check for Alignment and Level: Use a level to ensure the slabs are properly aligned and flat. Adjust them as necessary before the adhesive dries completely.
-
Grouting: Once the adhesive has set, apply grout to fill the seams between the slabs. Use a grout that matches the color of the marmeren platen to maintain a seamless look.
For more insights on this step, check out the Spin Grijs Ultra-Dun Flexibel Marmer Wandfineer Paneel and see how thinner marble options can be easier to work with, offering more design flexibility and a smoother installation process.
Step 5: Sealing and Maintaining the Marble
After your marmeren platen are installed, it’s important to protect them by sealing the surface. Marble is a porous material, which means it can absorb stains and moisture over time.
-
Apply a Stone Sealer: Choose a high-quality stone sealer designed specifically for marmeren platen. Apply it evenly across the surface to prevent stains and enhance the stone’s durability.
-
Regelmatig onderhoud: Clean your marmeren platen regularly with a pH-neutral cleaner designed for stone. Avoid harsh chemicals that can damage the surface. Reseal the marble every 6–12 months to maintain its protective layer.

Toepassing grijs marmer
FAQ: Common Questions About Installing Marble Slabs
1. How long does it take to install marmeren platen?
Installation time varies depending on the project’s complexity. On average, it can take anywhere from a few hours to a couple of days. Factors like slab size, layout, and complexity affect the timeline.
2. Can I install marmeren platen myself?
While it’s possible to install marmeren platen yourself, it’s recommended to hire a professional, especially when it comes to cutting, fitting, and ensuring that the slabs are properly aligned and level.
3. How do I prevent my marmeren platen from staining?
Apply a high-quality sealer to your marmeren platen to protect them from stains. Clean spills promptly and avoid using acidic substances like vinegar or citrus on the surface.
4. What’s the difference between marmeren platen en marmeren tegels?
Marmeren platen provide a seamless, luxurious look, while marmeren tegels are more affordable and easier to install. For a detailed comparison, see Caronstone’s guide on marmerplaten versus marmer tegels.
5. How do I maintain marmeren platen in high-traffic areas like the kitchen?
In high-traffic areas, make sure to use a strong sealer and clean the surface regularly. Avoid placing hot pots or sharp objects directly on the marble to prevent damage.
Marble SlabsInstalling marmeren platen in your kitchen or bathroom is a rewarding process that can add elegance and functionality to your space. However, achieving the perfect installation requires attention to detail and the right approach. By following the steps outlined above, you’ll ensure that your marmeren platen not only look beautiful but also stand the test of time.
If you need expert assistance, Caronstone is your trusted partner in both marble supply and installation. We offer a range of services, including slab selection, cutting, and professional installation tips, to ensure your project is a success. Contact us today for more information on how we can assist you with your marmerinstallatie needs.
Industry experts emphasize three pillars: precision cutting, stable substrate support, and consistent sealing cycles. These steps ensure that the stone’s natural veining is not only visually striking but also structurally protected. Caronstone’s project data further confirms that kitchens and bathrooms benefit significantly from reinforced installation methods, especially in high-moisture or heavy-load zones.Ultimately, choosing marble slabs is a design decision, but installing them correctly is an engineering responsibility. When guided by proven methods and expert-backed insights, your marble surfaces will reward you with decades of beauty, durability, and functional performance—exactly as premium stone should.